
Node.js is a JavaScript runtime that allows you to run JavaScript on the server-side. It is a popular choice for building web applications and can also be used to control hardware, such as the Raspberry Pi. In this tutorial, we will be using Node.js to control an LED and a push button on a Raspberry Pi.
Before we begin, you will need to have Node.js and npm (Node Package Manager) installed on your Raspberry Pi. You can do this by running the following command:

Next, you will need to install the Johnny-Five library, which is a JavaScript Robotics and IoT programming framework. You can do this by running the following command:

Now that we have the necessary software installed, we can begin writing our code. First, we will import the Johnny-Five library and initialize a new board object.

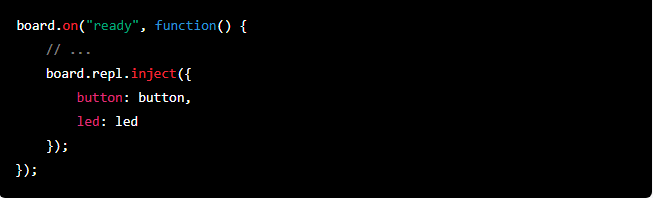
Next, we will define a function that will be called when the board is ready. In this function, we will define our LED and push button.

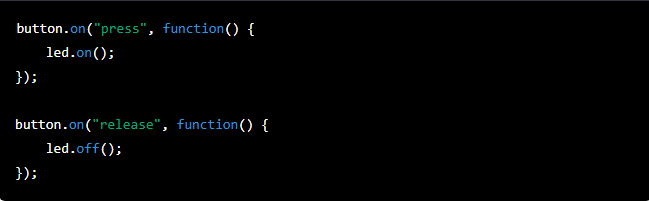
We will then define the behavior of the LED and push button. In this example, when the button is pressed, the LED will turn on, and when the button is released, the LED will turn off.
Finally, we will start the board.
That's it! You can run this script on your Raspberry Pi by running node yourscript.js in the terminal and your LED should turn on and off whenever you press and release the button.